In the world of epoxy floor coatings, the techniques and tools used to mix epoxy paint before it is ever applied to a floor is critical. So often, it’s simple mixing errors that lead to curing problems and installation disasters. In this blog, we’ll provide some epoxy mixology.
A Little Background
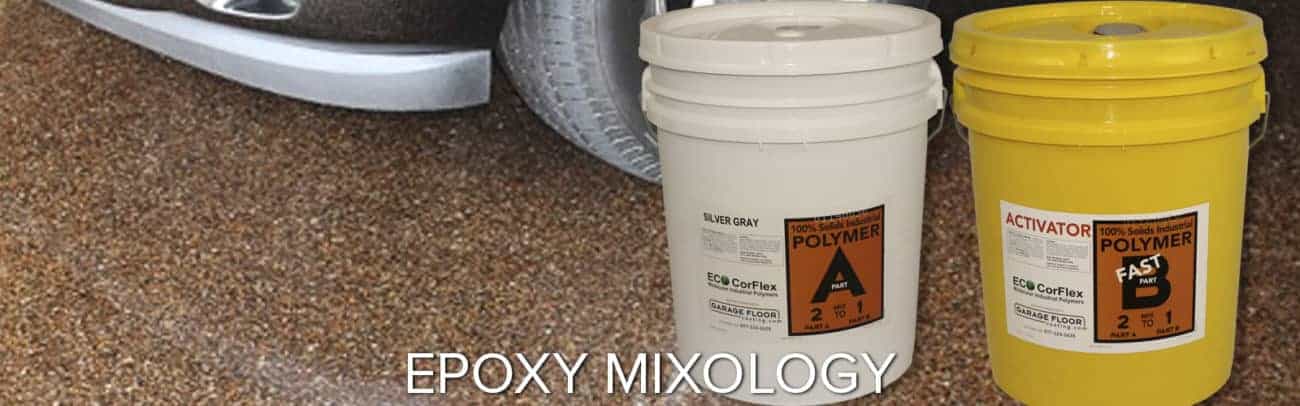
Most commercial epoxy paints are two-component products, with a Part A and Part B. The Part A is an epoxy resin and Part B, an activator. Because Part A is extremely reactive, adding the Part B component quickly cures the mixture to a strong adhesive. It is this strength that makes epoxy paints so durable…resisting chemicals, abrasion and moisture.
As mentioned in a prior blog (Epoxy Coating Product Types), there are several different product types beyond epoxies. Polyurethanes and polyurea-polyaspartics are examples. And each product may have a different mixing ratio of Part A to Part B (2:1, 1:1, 4:1, etc.).
Although many of the newer technology products require no added solvent, some epoxy paints must be “reduced” with solvent. This further complicates the mixing ratio. For example, with added solvent, the ratio of a 2:1 epoxy might become 2:1:½. This provides a good segue to the most common mixing errors.
Common Mixing Errors
Improper Measuring
Although there are many common epoxy mixing mistakes, the most common error is improper measuring. But proper measurement requires that applicators are comfortable with ratios and conversions (1 US gallon = 4 quarts; 1 quart = 32 oz; 1 pint = 16 oz). And they must be keenly aware that even small measuring errors of 5-10% can have major impacts on the integrity of the mixture.
At GarageFloorCoating.com, we take mixing one step further by using an Electronic Coatings Calculator. The square footage of the space to be coated is entered and the calculator provides the exact quantities of each component (in oz). As a result, it takes the guesswork of measuring out-of-play, ensuring excess product is not prepared and wasted.
Improper Equipment
The proper mixing of epoxy requires good equipment. Use a powerful, high-speed corded drill with appropriate mixing blade. Attempting to stir the epoxy mixture with a stick or shake the bucket will not create the needed uniformity.
It is important to note that mixing blade attachments come in various shapes and sizes. Small volume mixtures will require a small (mini) blade. Larger (or cementitious) mixtures will require a larger and stronger blade. Having a powerful electrical mixer and a good selection of mixing blades is critical to proper mixing technique.
Mixing Components of Different Products
Strangely, this is a common mistake. In the rush to get the epoxy mixed and applied, even experienced applicators occasionally add the Part B of one product type to the Part A of a completely different product type. The best means of mitigating this mistake is to appoint an experienced mixer and ensure your mixing space is highly organized. Having a mishmash of products together in one small space is a recipe for disaster.
Other Important Tips
A few more tips:
- Never add the surplus of a previously prepared (“old”) epoxy mixture to a newly prepared mixture. Doing so can contaminate the new mix causing irreparable damage if applied.
- Are multiple pails of Part A used? Batch the Part A’s together and premix. Do not prepare separate batches using different Part A’s. Batching and premixing will ensure color consistency throughout the coated space!
Proper Mixing Procedure
Properly organize the mixing area with the required equipment and product components. Wear the proper personal protective equipment (safety glasses, gloves, chemical-resistant apron and respiratory mask). Verify the product labels before mixing. If mixing a pigmented epoxy, it is not unusual for the pigment to sink to the bottom of the container (“muddy bottom”). Therefore, when preparing a pigmented epoxy, thoroughly mix the Part A first. Only then add Part A to Part B and re-mix immediately. Needless to say, premixing Part A is not necessary for clear epoxies.
After having thoroughly mixed Parts A and B, add the reducer (if applicable) and re-mix thoroughly. In each case, avoid introducing air into the mixture by using a slow mixing speed. Mixing in any other sequence or manner will affect the integrity of the mixture.
Epoxy Mixology: The Wrap
The installation of epoxy coatings may seem simple to an outside observer. Just mix and roll. However, even something as seemingly easy as the mixing of epoxy has its hidden pitfalls. The proper application of an epoxy coating, one that will last for years, requires the use of industrial epoxy products, good equipment, and experienced applicators. Or what we like to call epoxy mixology.
About the Author
Share this Post